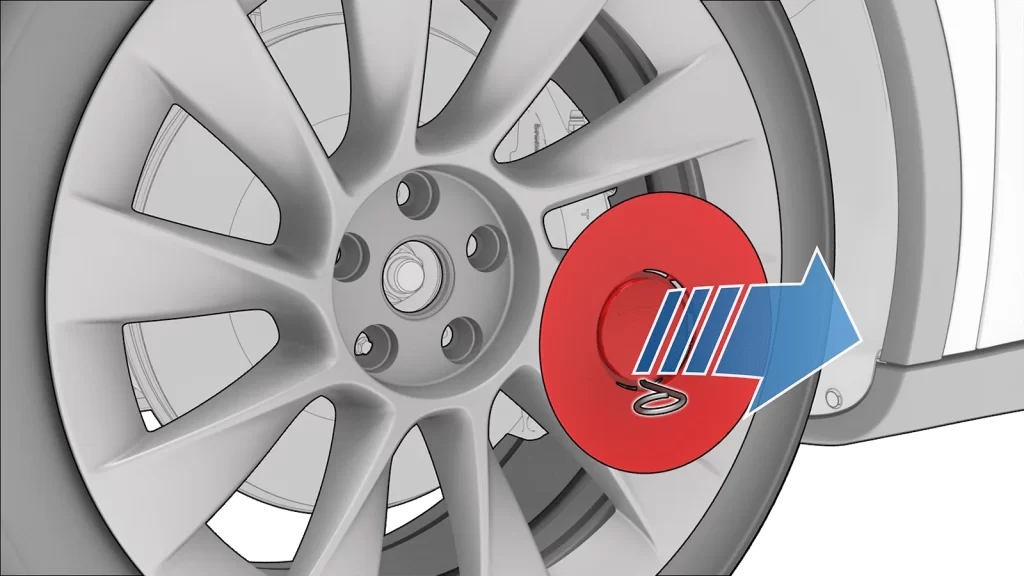
Removing wheel center caps from wheels can be straightforward if approached carefully. Here’s a step-by-step guide:
Tools You May Need:
- Plastic removal tool or flat-head screwdriver (with a cloth to prevent scratching)
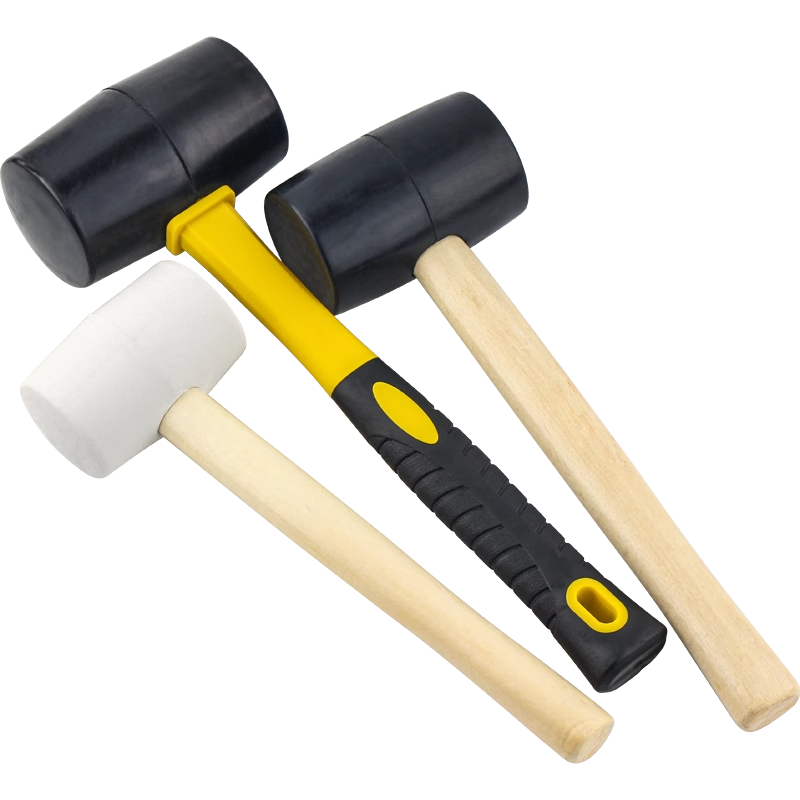
- Rubber mallet (optional)
- Gloves (optional)

Steps to Remove Wheel Center Caps:
- Assess the Center Cap:
- Inspect the wheel and center cap to identify how it is secured. Some may have a small notch or gap that allows for easier removal.
- Protect the Wheel:
- Cover the area around the center cap with a cloth to prevent scratches or damage to the wheel surface.
- Use a Plastic Removal Tool:
- Insert a plastic removal tool or a cloth-covered flat-head screwdriver into the gap (if available) around the edges of the center cap.
- Gently pry the cap outward. Start at one edge and work your way around the cap.
- Apply Even Pressure:
- Apply even pressure to avoid breaking the cap. If it feels stuck, avoid forcing it; instead, check for additional clips or tabs that may need to be disengaged.
- Use a Rubber Mallet if Necessary:
- If the cap is particularly stubborn, you can lightly tap around the edges with a rubber mallet to help loosen it. Be careful not to hit the wheel itself.
- Remove the Cap:
- Once it starts to come loose, you should be able to pull it out by hand. If it’s still resistant, gently pry until it pops off.
- Inspect the Center Cap and Mounting:
- After removal, check the cap and the wheel for any signs of wear or damage.
- Replace if Needed:
- If you need to replace the center cap, ensure you have the correct size and type to fit your wheel.

Tips:
- If the caps are very tight or you are unsure, consider consulting your vehicle’s manual or a professional for advice specific to your wheel type.
- Be patient and try not to rush the process to avoid damaging the wheel or the center cap itself.
By following these steps, you can successfully remove your wheel center caps.

