

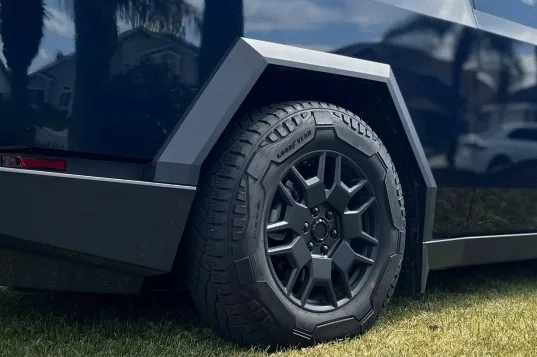
Everyone knows that wheel center caps protect wheels and tires from dust and dirt. So how should you install wheel center caps properly? Look here! This article is about the detailed steps and precautions for installing wheel center caps.
Steps for installing wheel center caps
- Preparation: materials and tools
New wheel center cap, clean cloth, small screwdriver, or hubcap removal tool (optional) - Cleaning the hub
Before installing the new wheel center caps, you need to clean the wheels. This step will ensure that the wheel center cap is installed more securely. - Confirm the orientation of the wheel center cap
Each wheel center cap is oriented in a specific way, make sure to align it with the clips or slots on the hub. Double-check the retainer on the back of the wheel center cap to make sure it is aligned with the snap position on the hub. - Installing the wheel center cap
Align the hubcap with the wheel hub, carefully press the edge of the wheel center cap, and slowly push it into the wheel hub’s snap grooves. Make sure that each snap snaps exactly into its corresponding position. If necessary, gently tap the edge of the wheel center cap with the palm of your hand until all snaps are firmly seated. - Inspection
After installation, gently shake the wheel center cap by hand to make sure it is secure and will not come loose. If the wheel center cap does not snap in completely, it may need to be repositioned and installed again.

Precautionary note
- Confirmation of fit
Before purchasing a wheel center cap, you need to confirm that it matches the wheel size of your vehicle. Wheel size and snap design may vary from model to model, so you need to double-check before purchasing. - Moderate mounting force
When installing the wheel center cap, use moderate pressure. Excessive force may damage the wheel center cap or the wheel, while insufficient force may cause the wheel center cap to not be installed securely. - Periodic inspection
Wheel center caps may loosen due to vibration during driving. It is recommended to check the firmness of the wheel center caps periodically, especially after a bumpy road or a long drive. - Avoid using tools
When installing or removing the wheel center cap, try to avoid using metal tools to pry the wheel center cap directly. Metal tools may scratch the wheel center cap or the wheel hub. Special wheel center cap removal tools or plastic tools are recommended. - Preventing loss
Some wheel center caps have a loose design and are prone to falling off while driving. Consider using anti-loss clasps or adhesive strips for additional fastening after installing the wheel center cap.
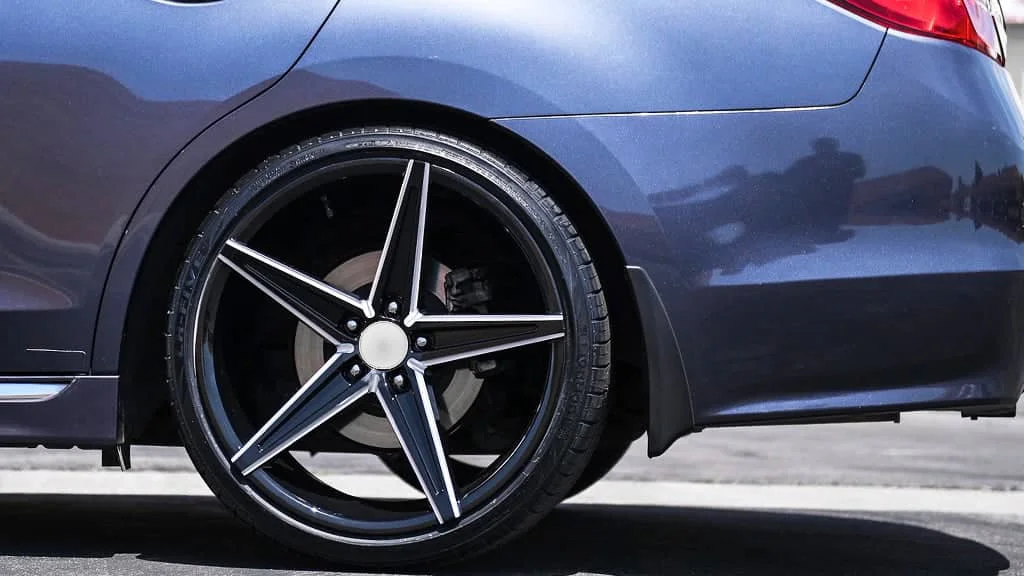
With the above steps and precautions, you can easily install wheel center caps for your vehicle, which enhances the appearance of your vehicle as well as effectively protects the wheels and tires. I hope this blog is helpful to you. Wish you good luck with the installation!
Of course, you can also contact us for any other questions about wheel center caps!
We offer wholesale and customized services, and you can also contact us for details if you need more services.
WhatsApp: +86 13710535214
Website:https://rheedal.com/
We are Rheedal! Wheel Decoration Master!