Removing a push-in hub center cap may sound complicated, but by following the correct steps and using the proper tools, you can do it without any problems. Below are detailed instructions to help you remove your push-in hub center cap safely and efficiently.
Tool Preparation
Before you begin, make sure you have the following tools:

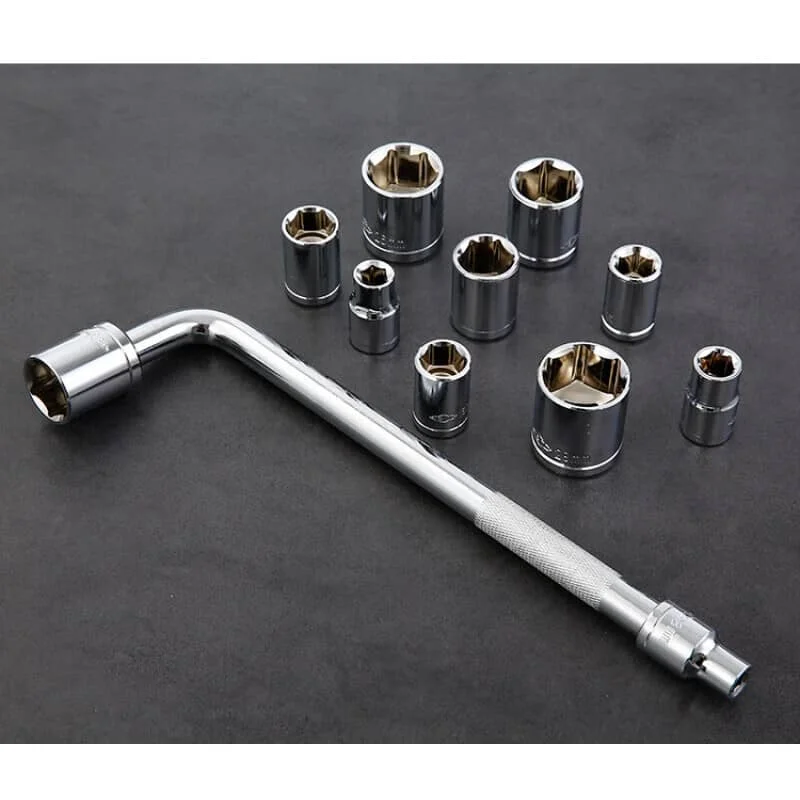
- Nut wrench: a tool for removing tire nuts.
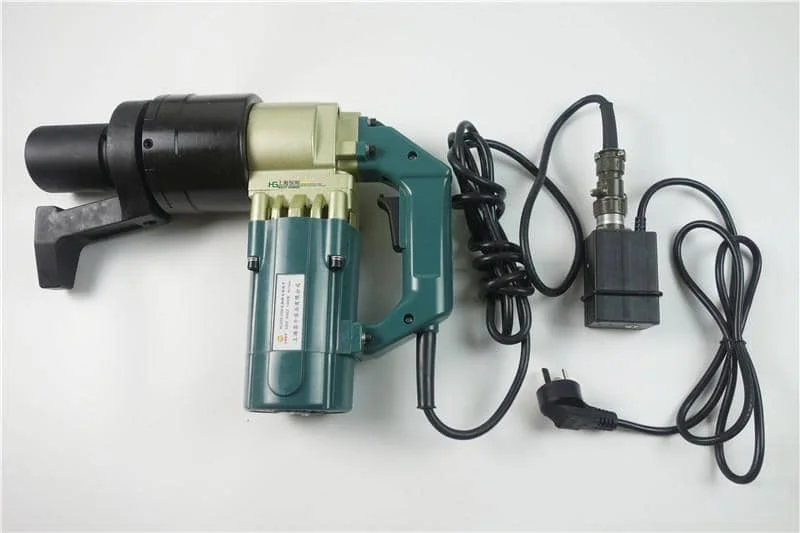
- Electric Nut Wrench Tool: can speed up removal, especially if the tire is mounted tightly.
- rubber hammer: used to lightly strike the center cap.
- Protective gloves: to protect hands from injury.
- Cleaning cloth: to clean the wheel and center cap after disassembly.

Step-by-Step Details
- Ensure safety:
- Park the vehicle on a level surface and make sure the wheels are locked. Use the handbrake to ensure the vehicle does not move.
- Prepare Tools:
- Place all tools in an easily accessible location to ensure that they are within easy reach when operating.
- Lifting the vehicle:
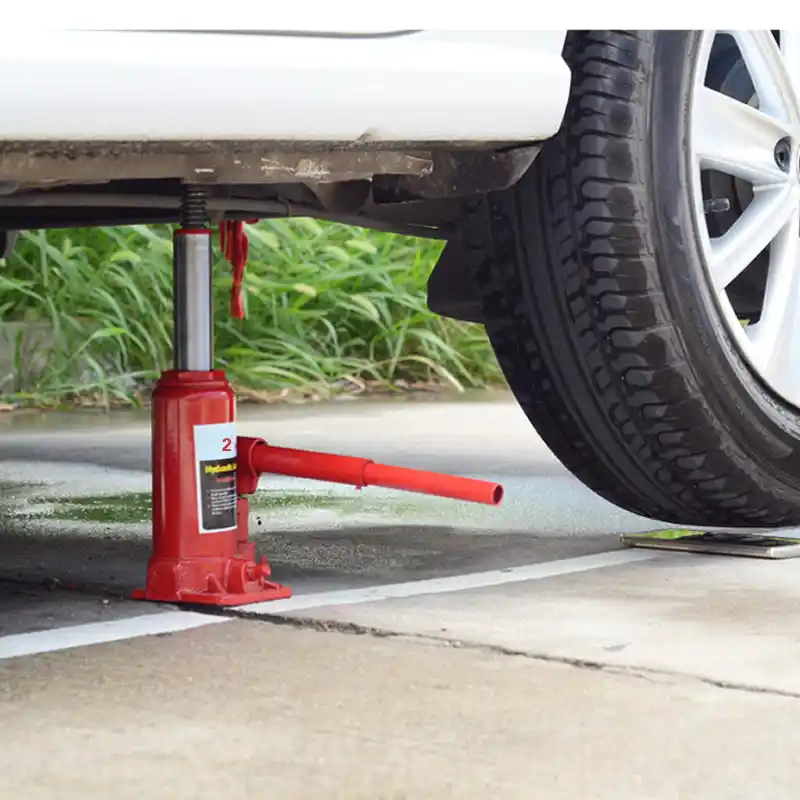
- Use the jack to raise the vehicle to the proper height for tire removal. Make sure the jack is placed securely to avoid tipping.
- Removing Tire Nuts:
- Using a lug nut wrench or an electric lug nut tool, loosen the nuts on the wheels one at a time. It is recommended to loosen each nut one turn first, rather than removing it completely, to keep the tire stable.
- Removing the tire:
- With the wheel raised, completely remove the nuts and carefully remove the tire. Set the tire aside, making sure it does not obstruct the workspace.
- Inspection of Center Cap:
- Observe how the wheel center cap is secured. Push-on center caps are usually secured to the hub by friction or snap-on.
- Removing the center cap:
- Remove the hub center cap by gently tapping the hub cap from the outside with a rubber mallet to loosen it, thus pushing it inward. – When tapping, you can apply even force around the center cap until it is completely free from the hub.

- Cleaning the hub:
- After removing the center cap, use a cleaning cloth to clean the surface of the hub to remove dirt and particles. This helps ensure a better fit when the new center cap is installed.
- Check center cap condition:
- Inspect the removed center cap to verify that it is in good condition. If damage or wear is found, it is recommended that the center cap be replaced with a new one.
- Install new center cap (if required):
- If you are going to install a new center cap, make sure that its size matches the hub. Align the new center cap with the hub and gently push it in to securely fasten it.
- Reinstall the tire:
- Place the tire back on the hub and reinstall the nuts in order. Make sure each nut is tightened to avoid loosening while driving.
- Lower the vehicle:
- Use a jack to lower the vehicle back to the ground, making sure the tires are stable in contact with the ground.
- FINAL CHECK:
- Re-check the tightness of all nuts to ensure that all parts are properly installed.
CAUTION
- Always wear protective gloves to protect your hands during the operation.
- If you are not familiar with the disassembly process, it is recommended to ask for professional assistance to ensure safety.
- During the disassembly process, keep patience and avoid excessive force to avoid damaging the parts.
With the above steps, you can complete the removal and replacement of the push through center cap. With care and caution, you can easily accomplish this task at home, saving time and money.

